Day 18: Behind Every Great Designer Is…

by Melanie, December 18, 2013
A Man with a Paint Can:

My name is Whit and I am the husband of Melanie Whittington, a very talented and beautiful woman whom I love dearly. 
I always like to say that first and foremost as a way to not only gain empathy and endearment from my audience, but to set the stage for my story, which as the husband of a talented and beautiful designer, has its distinct challenges. 
Being the husband of a designer is a hard life. It is a life fraught with hours of shopping, running to Home Depot, looking at paint swatches, tile samples, flooring, furniture and design magazines, watching design shows on TV and painting and repainting rooms.  My nights and weekends are full.
In a way, I was raised to be Mel’s husband.  My dad was a builder and I spent my summers helping him and my brother build houses.  We hand-crafted 3 beautiful homes that we lived in while I was growing up. My dad can build or fix just about anything, a skill he learned from his own father and one I hope to pass on to my own children. 
But as Mel’s husband I have fortunately (or unfortunately for me) developed an even greater level of “handiness” that spans a wide array of skills. 

Need to build a deck?  “Whit can do it!”  
Need to find, finish and install an African hardwood bar? ”Sure Whit can do that!” 
The funny thing is that these conversations usually are held in my absence. 

Many of these projects occur and are driven by the high frequency entertaining that my talented and beautiful wife plans. I think men understand the PPP (Pre Party Project):  a distinct and deliberate effort to use an upcoming event to drive some sort of home betterment agenda. I am a huge hockey fan and the PPP is the pure metaphor for “slipping one past the goalie.” The party is the mechanism to highlight the supposedly substandard living conditions in our wonderful home in Arlington. The chain of events usually goes like this….
  1. Dog barfs on sisal rug (a rug that has fallen out of favor with Mel).
  2. Mel:  “We cannot have people over to see the dog barf stains on our sisal rug!” 
  3. Whit:  “Then let’s not have people over.”
  4. Mel:  “But I have already sent out the invites!”
  5. New rug is procured and delivered

What is curious is that the new rug usually shows up the next day.  As if the whole thing was already planned and I did not even know we were having a party. I am the goalie in this construct and I have just been beaten and I never even saw the shot. 

Shortly after we moved into our first home in Arlington — a 2 bedroom, 1 bathroom cape with an unfinished basement — Melanie decided to have a baby shower for our good friend. This was one of our first friends to have a child so it was a big deal.  When I learned that over 30 women were coming to our 2 bedroom, 1 bathroom home I knew instantly that the single bathroom was not going to work for Melanie. We fought over this for about two weeks before I yielded. What I learned is that my wife is a genius at using her powers of persuasion to get pretty much whatever she wants. This particular PPP had me renting a metal detector so I could locate the drain pipe in the basement slab, renting a jackhammer to crack the slab open, and hand-digging and installing new drain pipes for a basement bathroom. I framed the room, installed the drywall, shower and toilet, fabricated a custom shower rod, tiled and painted. I worked roughly 18 hours for two days straight to have it ready for the party. The grout was still drying as the first guests arrived. I was so proud and Mel was so happy to have her new bathroom for guests.  Of course, not one guest used it.
 
Ahh the life of the designer husband/home goalie, beaten again by the amazing skill of a sharpshooter.  

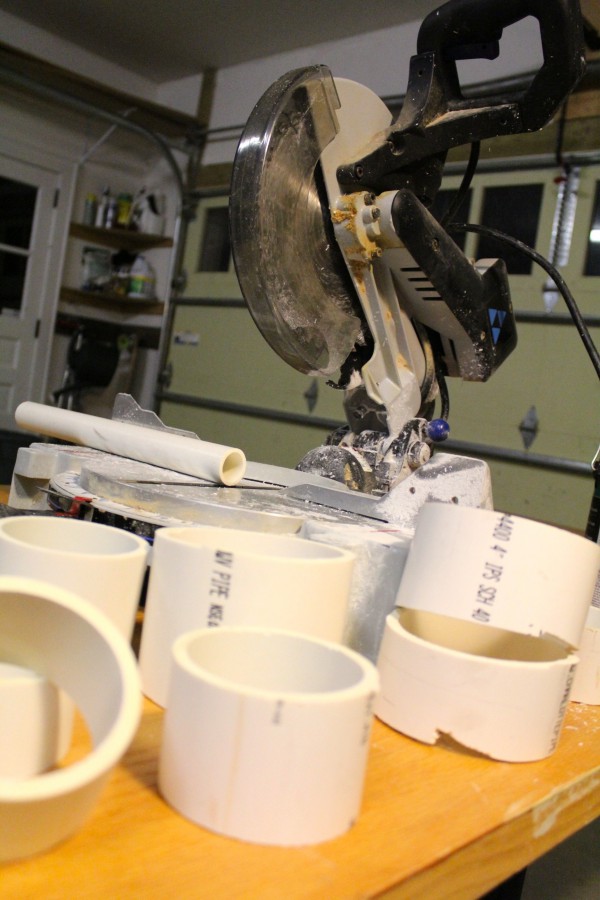
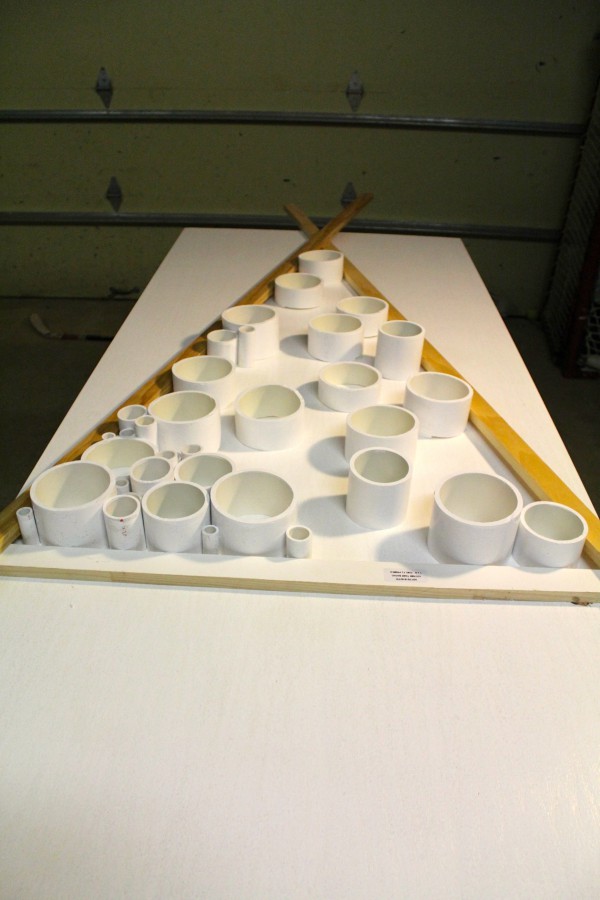
By comparison to the overnight bathroom installation, my latest PPP was a breeze.  It’s the holiday party season, so of course Mel wanted:  The PVC Christmas Tree.
The PVC Christmas Tree
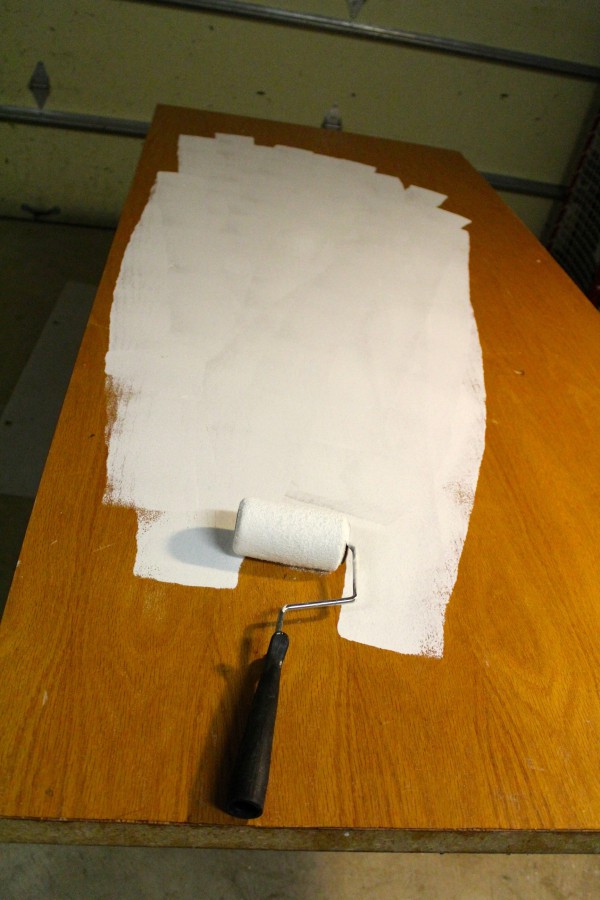
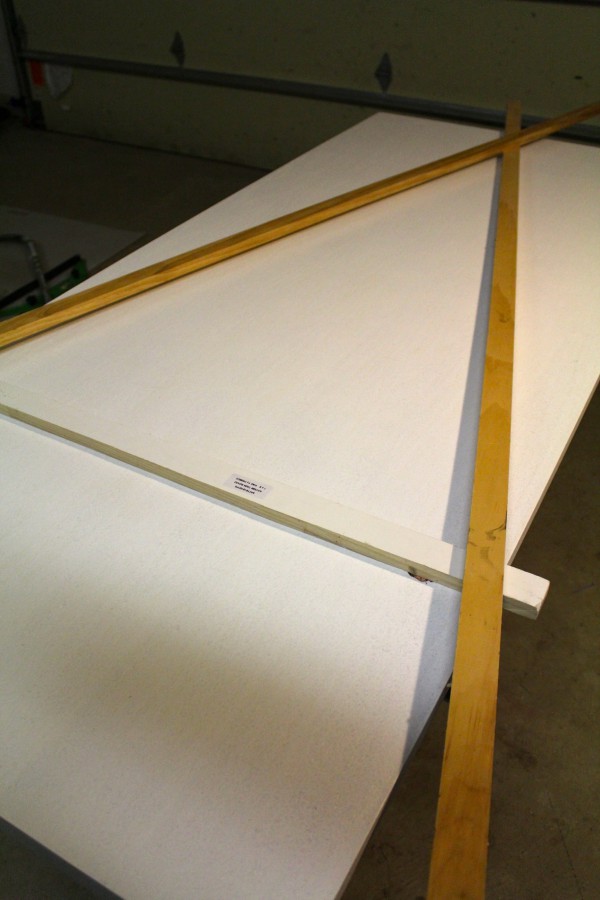
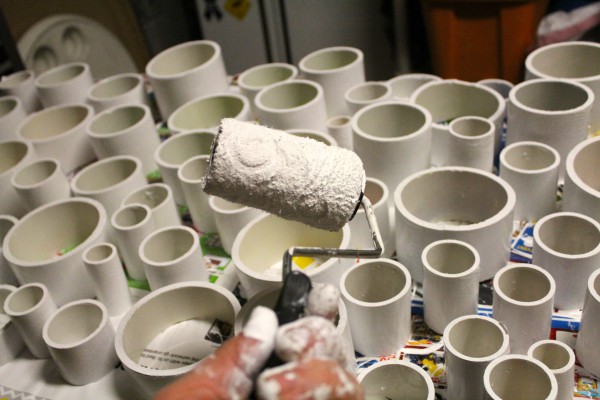
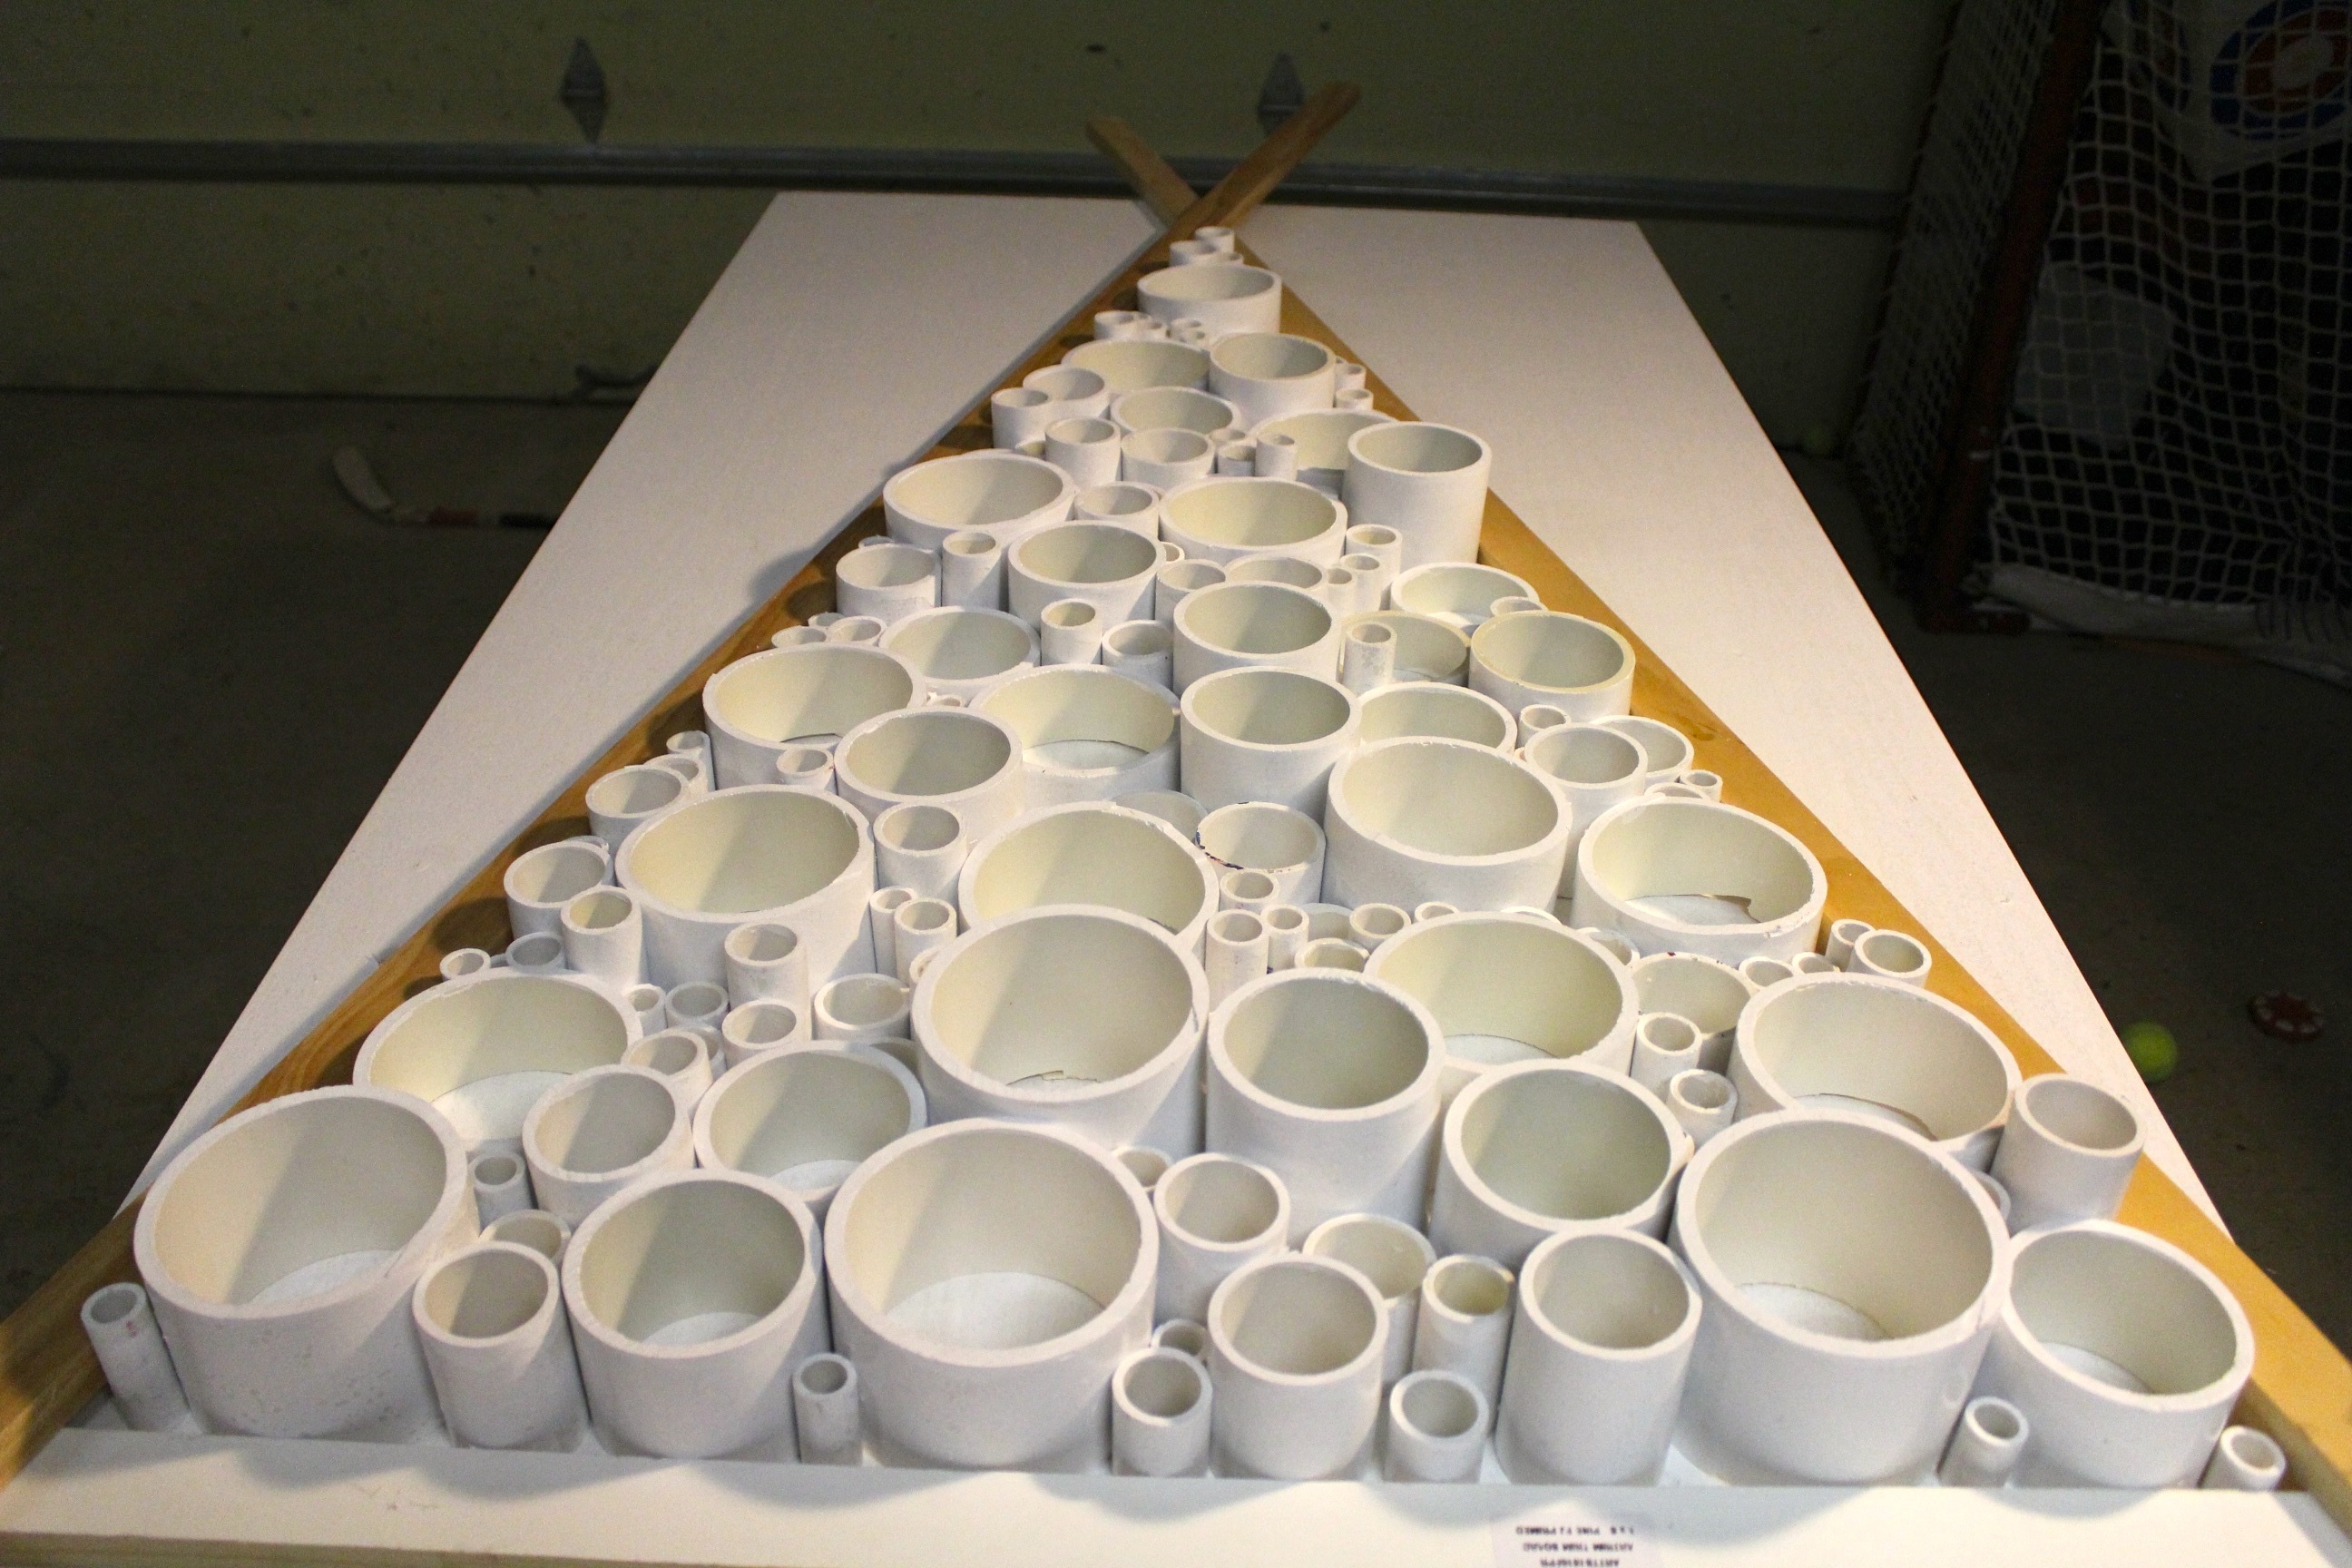
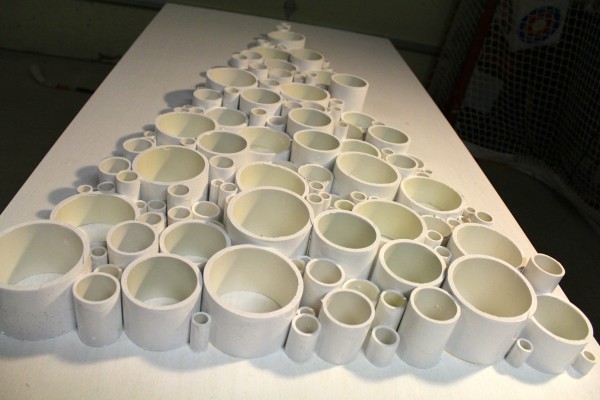
This project was inspired by a photo that Melanie had given me from one of her many, many design magazines (seriously, we have a lot).  It looked pretty easy to me and there are many ways you can achieve this look. I am always excited about ways to use things that are in my garage or basement and the backing board for this project was an old door that I painted white.  
IMG_2530
I used a door but you can use any number of things: plywood, MDF, whatever you have that will not flex and will provide the stability to keep the PVC from falling off. You can also use different sizes and still get a pretty cool effect based on the space you have. I am going to work on a couple of smaller builds where I am using 2’ X 4’ X ½ inch finished plywood that is pre-cut and ready at any Home Depot.
Here are the tools you will need:
Chop Saw – (Trim Saw, Finish Saw)
Small paint roller (2 or 3 inch) and paint tray
Jigsaw or Skill saw (depending on what type of tree stem you want)
Pencil
Tape measure
Straight edge to lay out tree
Here are the materials:
Backing material – ½ plywood 5‘ X 3 ‘ get it cut at the hardware store to the size you want
White Paint
White Spray Paint
Epoxy or gorilla glue (use the clear gel)
Heavy duty picture hanging hinges that will screw into backing board
Heavy duty (100 lb) rated hanging hooks
PVC of varying diameters – If you go to the hardware plumbing section you will see shelves of 2 foot lengths of precut PVC. Depending on the size of your tree I would grab at least 2 -3 sections each of each larger diameter, grab 4 of the smallest and second smallest diameter PVC.
Tree stem – you could use a section of larger diameter PVC cut in half lengthways.  I used a piece of birch that I ripped with a skill saw.
2 screws for stem

Here’s how I did it:

1) Paint backing board white.  Depending on your backboard and paint, you may need to sand or prime first.  I just rolled on a few coats.
IMG_2539
IMG_2540
2)  Set up chop saw and begin cutting PVC into varying lengths – no shorter than 1 inch up to 5 inches to give the finished tree good texture and movement.  Depending on the size of your chop saw you may have to make 2 cuts on the larger diameters so be careful. It is ok if you do not have perfectly even & square cuts.
IMG_2538
IMG_2537
IMG_2518 IMG_2519
3) On dry backing board lay out your tree triangle. I came up with 2 feet from the bottom and 2 inches in from each side and used a straight edge and lightly scribed my triangle.
IMG_2598
4) Take the cut PVC and lay out your tree randomly to taste. Start with the larger circles and then fill in with smaller. Try not to have too many of the same diameter and thickness close to each other.
IMG_2600
5) Once the tree is laid out take PVC and roll with paint to cover up labelling on pipe.
IMG_2542
6)  Mix epoxy or use gorilla glue or hot glue and glue the PVC onto backing board – be generous with the epoxy and sparing with gorilla glue as it will expand and you will have to go back and cut off the overage that will bubble up.
IMG_2604
7) Let dry while you enjoy a refreshing beverage.
8) Lightly spray PVC tree with semi-gloss spray paint to give even color consistency.
IMG_2614
9) You can cut your tree stem out of a larger diameter PVC cut end-to-end and glue in place or use another material.  I used a birch log because great designers are crazy about birch logs.  I used a vice grip to hold the log and ripped it with a skill saw.  I then screwed into the log from behind the board to hide the screw heads.
10) Screw hanging hinges into back of backing board for hanging. You can hang this or lean it. I recommend securing the leaning piece with a hanging wire and hook to keep it from tipping over.
11) Decorate with your favorite Christmas ornaments.
IMG_2885
Compared to many of my PPPs, this was a very easy project that took me about 2 hours to complete (not including drying time) and it provides a lot of visual impact and texture in our foyer. I have been pleased with the comments and feedback from our recent holiday gatherings and have been asked to build several for friends. It is always a pleasure for me to have a friend want something that I created to grace their home. I am in the process of building several of varying sizes. If you are interested in having one please contact info@whittingtondesignstudio.comor respond to this blog with questions and we can give you a quote.  Or do it yourself!

I hope you enjoyed my first WDS blog post.  I welcome your comments and feedback.  I would love to hear about your PPPs!
Whit
About our Guest Blogger:


Mark Whittington — aka “Whit” — is Melanie Whittington’s husband. Whit grew up in the family construction business where he learned how to build things from his father and older brother and developed a high degree of “general handiness” that gets called upon daily being the husband of a talented designer.  From fabricating drapery rods, building outdoor bars, hand-placing bubble tile back splashes to complete bathroom build outs, Whit has tackled many home projects for Mel over the years. He is a software executive by day and wannabe DIY show host at night and on the weekends. He hopes to share the unique perspective of a designer’s husband, interesting projects, and stories that will help you make your husband or significant other a more productive member of your design projects. 

 
P.S.  Want to hear more from The Man with the Paint Can?  Comment on this blog and we’ll bring him back (if he’s not too busy with Melanie’s PPP).  Do it!


Website Design & Development by Ironistic.com